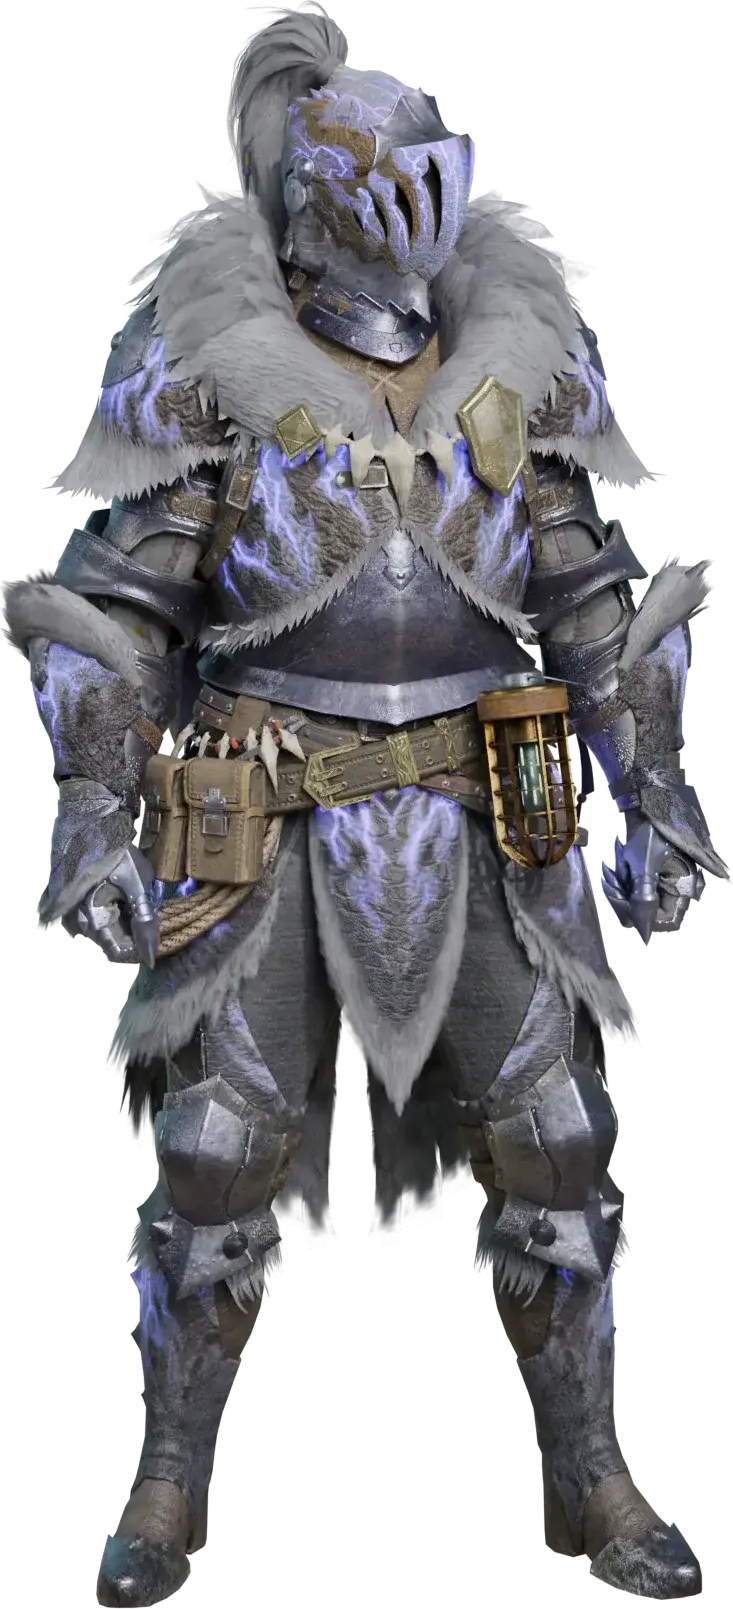
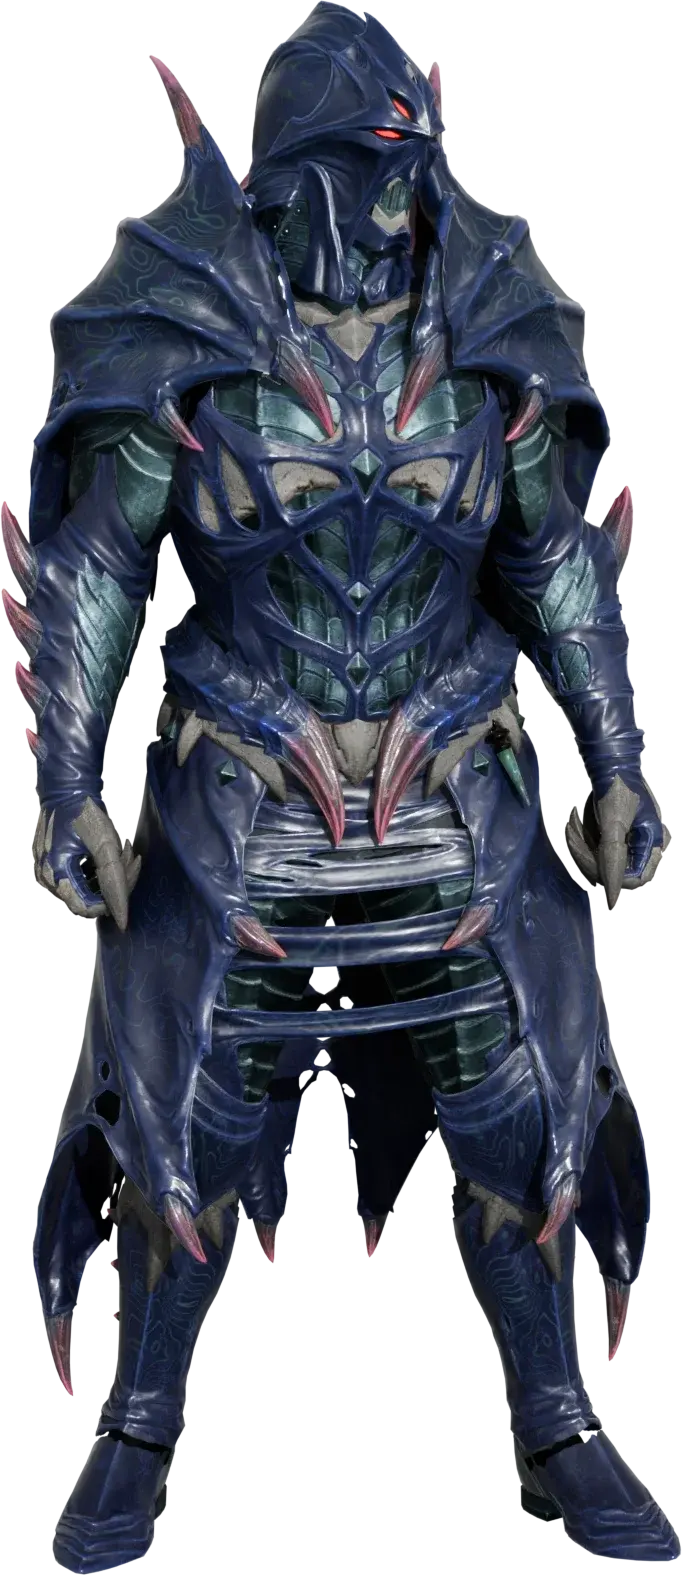
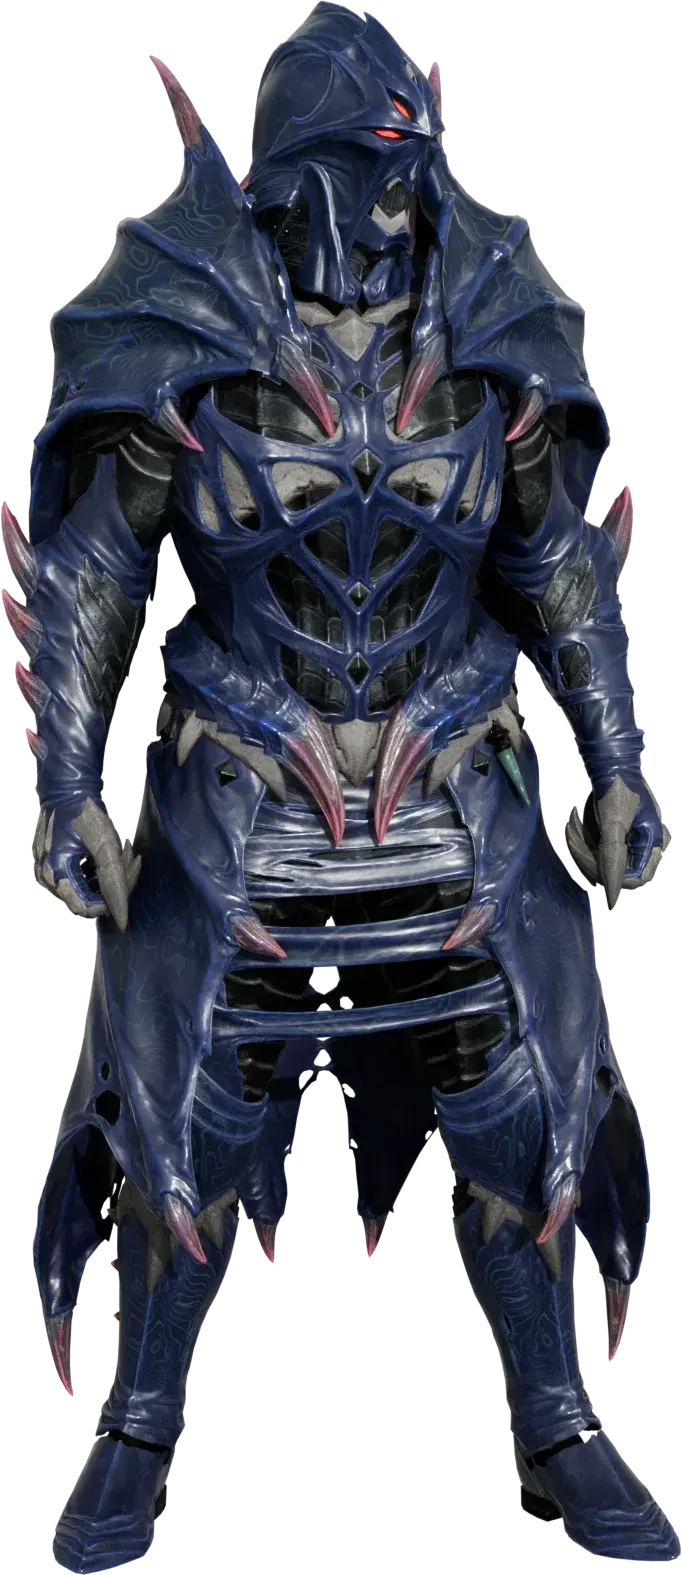
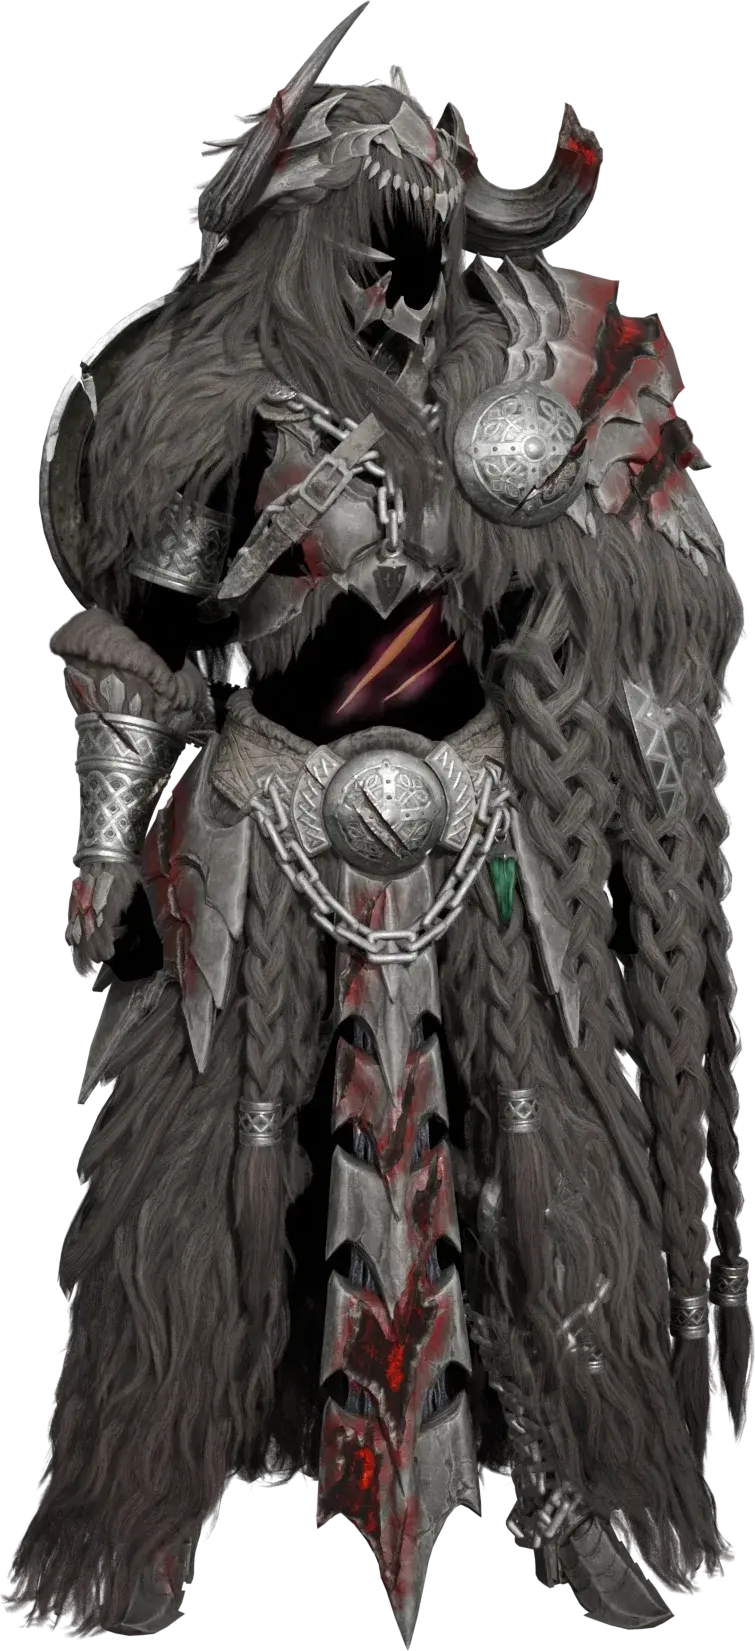
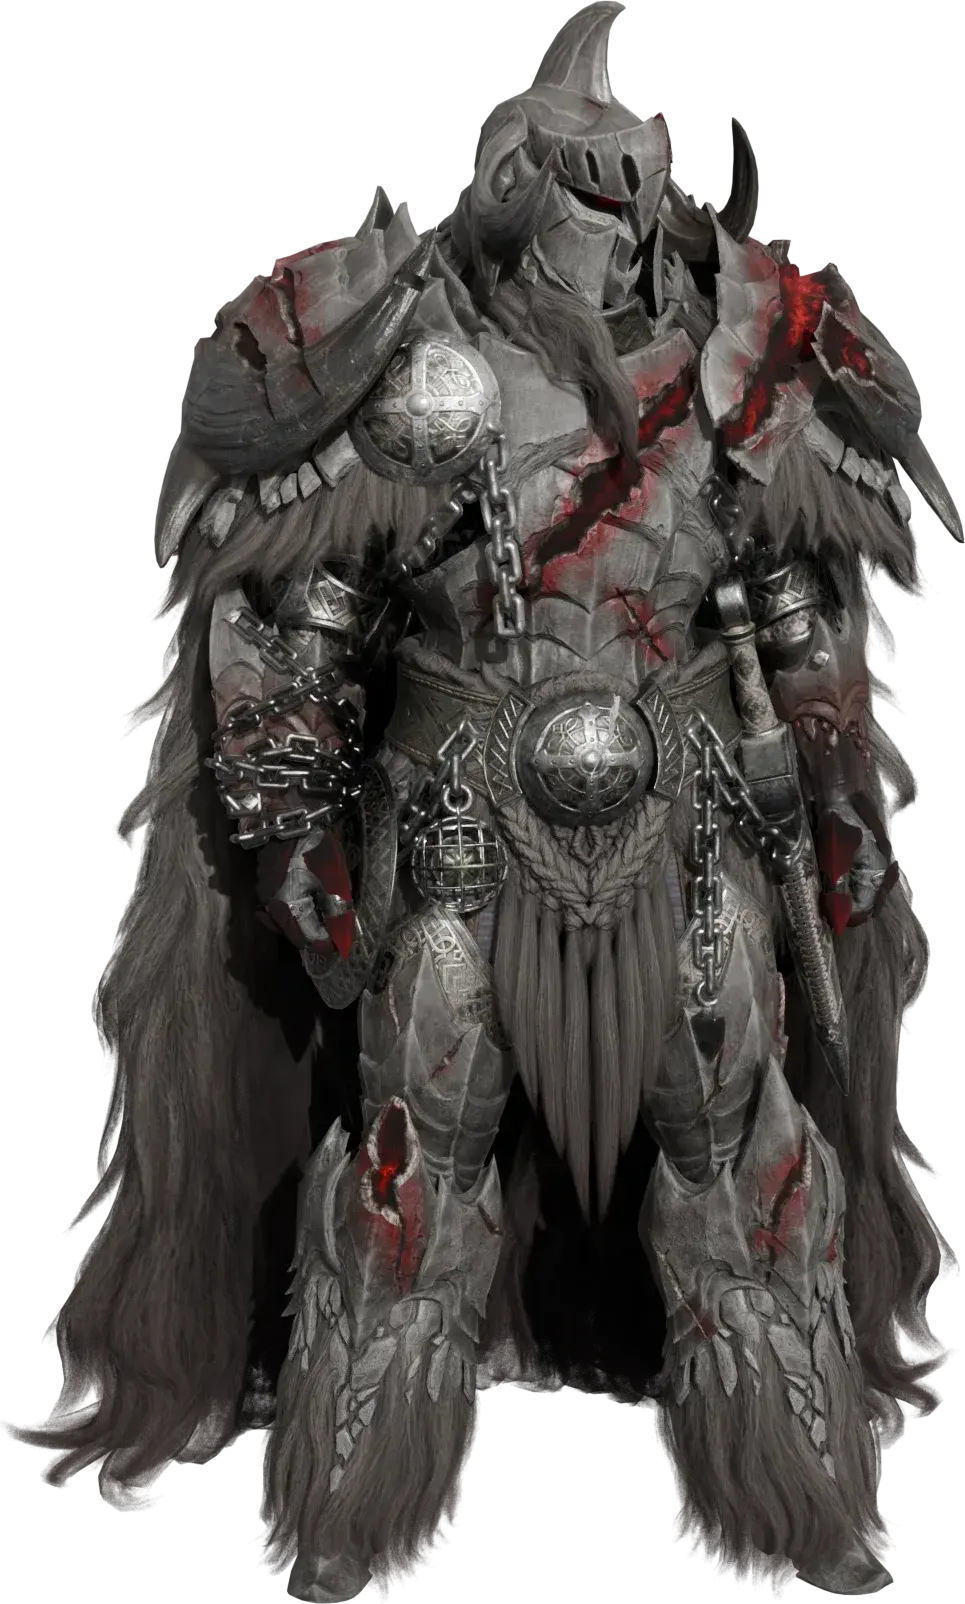
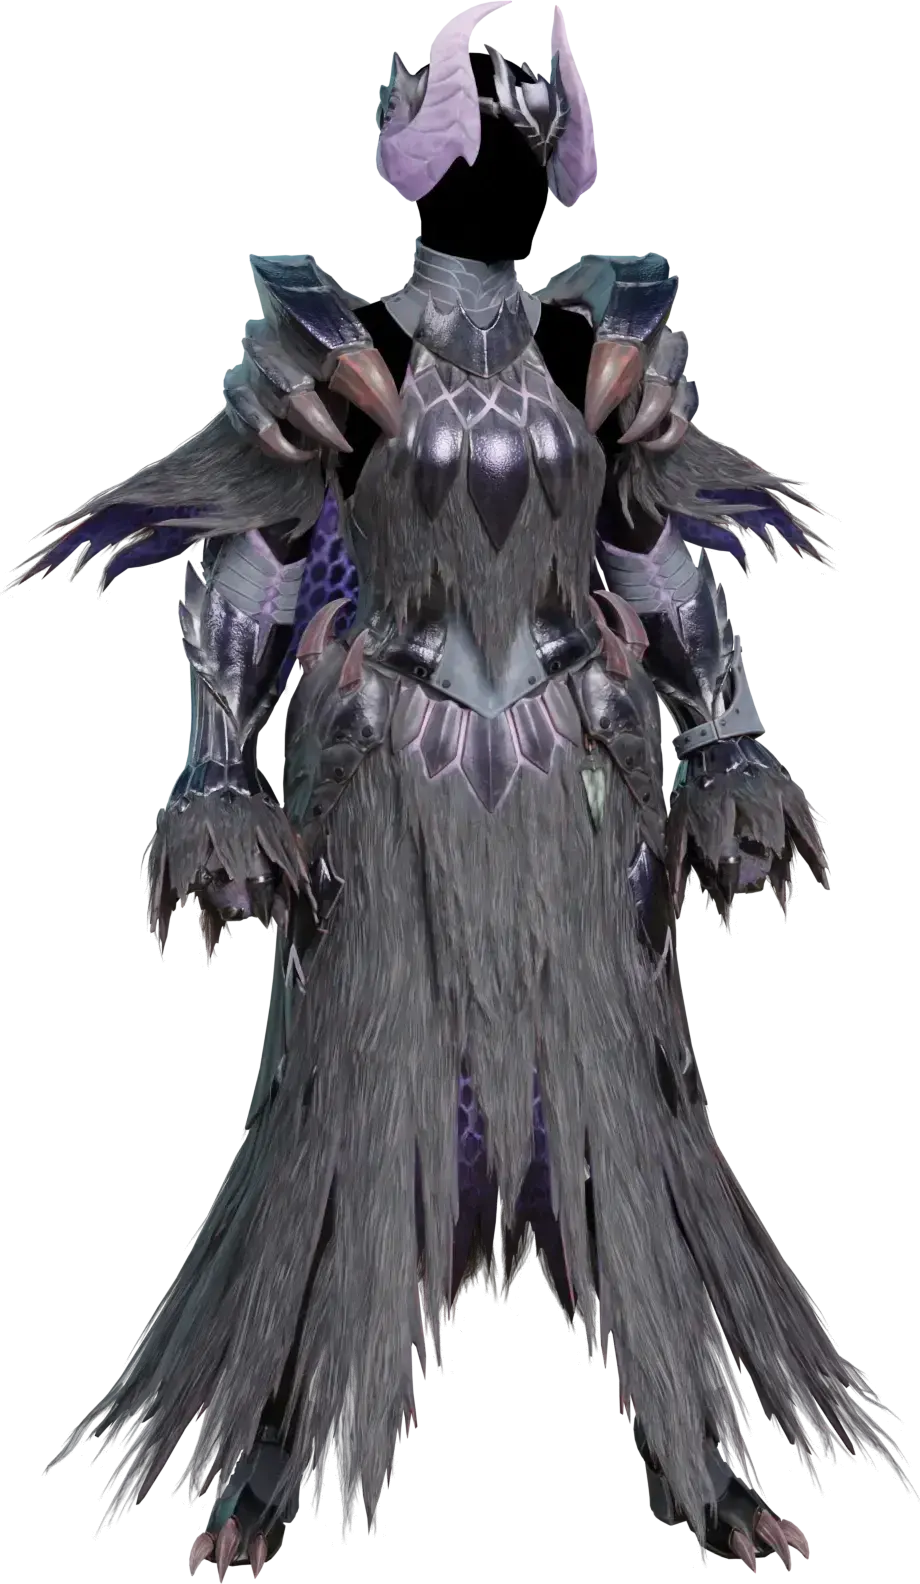
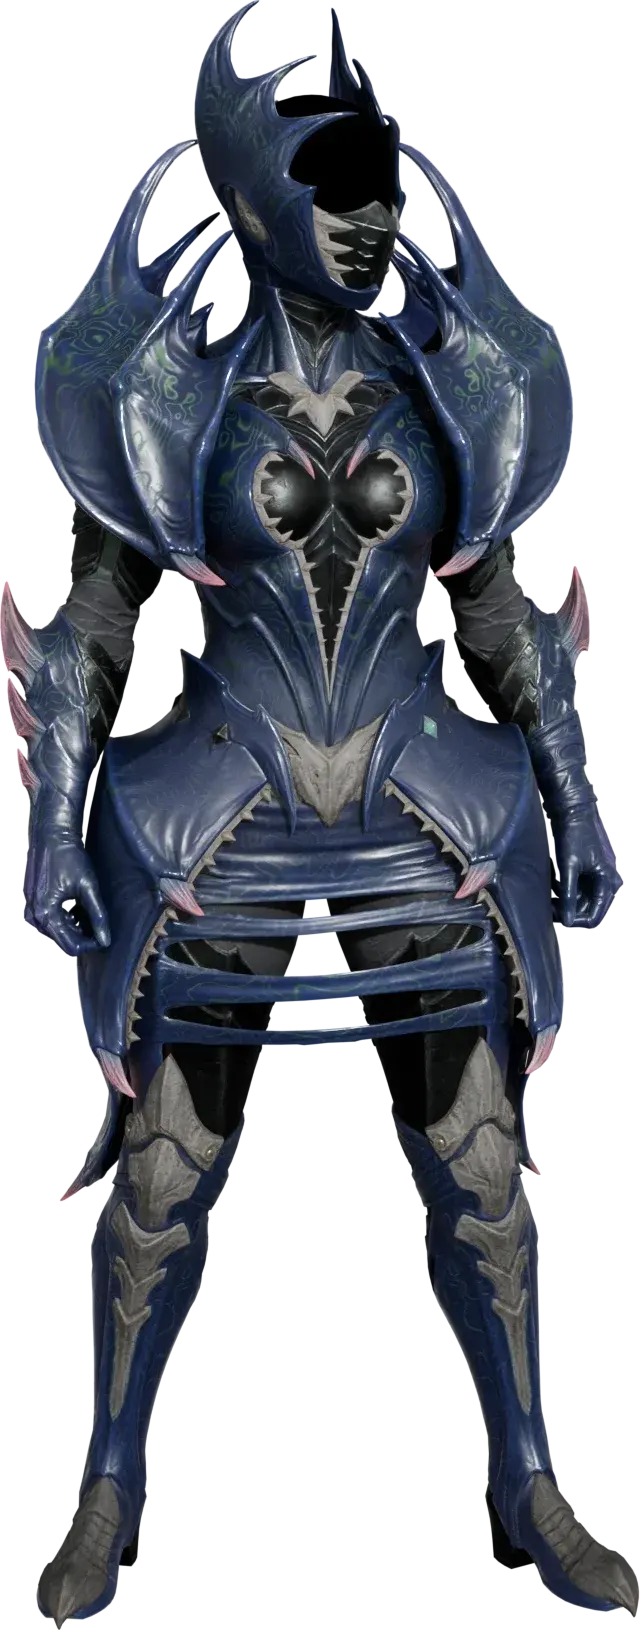
An element-phial Charge Blade build around the Gogmazios four-piece bonus: Mutual Hostility II adds elemental attack whenever the monster is enraged and a damage barrier that absorbs a hit, while two Mizutsune pieces trigger minor bubbleblight after a few evades so Coalescence 3 can fire a large elemental boost when it wears off. Guard 3 and Guard Up 3 cover Gogmazios' unblockable attacks.
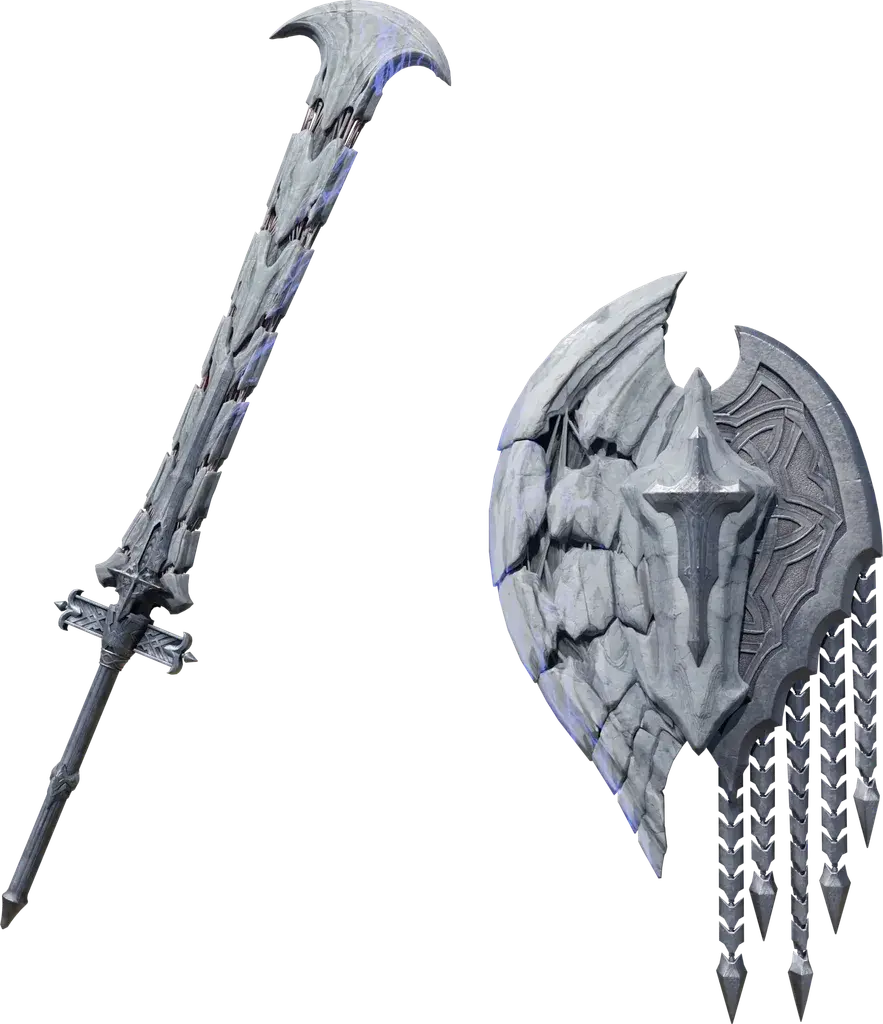
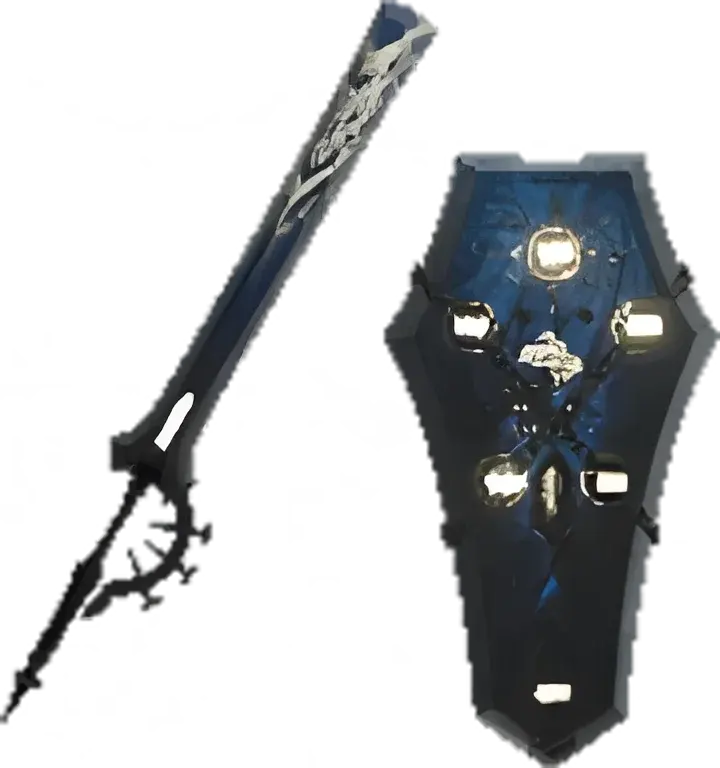
Promised Abyss with Element focus (element phials), upgraded to its Gogma form. Any element works: Darcblade carries a dragon one as his second weapon with Dragon/Ironwall in place of Blaze/Ironwall.
RolledGogmapocalypse1Imparted Wisdom1
Set skill: Gogmapocalypse (the fourth Gogmazios piece)
Group skill: Imparted Wisdom (filler, any roll works)
Play Savage Axe rather than spamming Super Amped Element Discharge: Burst 5 rewards a steady stream of hits and Rapid Morph 3 shortens every morph, cutting the wind-ups that get you hit. Evade a few times to pick up minor bubbleblight from Bubbly Dance; when it runs out Coalescence triggers. Second Wind from the Fulgur helm and the Gogmazios vambraces adds a second stamina gauge, so dodging does not drain the one Maximum Might watches. Darcblade built it to farm Gogmazios, hence Guard 3 and Guard Up 3; on monsters that rarely force a block, those are the jewels to change.
Synergies
Why each skill is in the set
01Mutual Hostility II4 pts
Mutual Hostility II: element and a barrier
Gogmazios Vambraces α, Gogmazios Coil β and Gogmazios Greaves β plus the Gogmapocalypse roll reach four points. Rank I raises elemental attack while the monster is enraged; rank II strengthens it and wraps you in a damage barrier that absorbs a hit, then comes back after a cooldown.
02Bubbly Dance I2 ptsCoalescence
Bubbly Dance into Coalescence 3
Mizutsune Mail β and Gogmazios Coil β both carry Mizutsune's Prowess, which makes Bubbly Dance I: after several evades you get minor bubbleblight. Coalescence triggers when a blight ends, so each time the bubbles wear off you gain a large elemental attack boost. It is the Mizutsune version of the usual Gore Magala Frenzy setup, and the three Phoenix jewels max it.
03Second Wind I2 ptsMaximum Might
Second Wind feeds Maximum Might
G. Fulgur Helm β and Gogmazios Vambraces α carry Fulgur Anjanath's Will: Second Wind I adds an extra stamina gauge. Evades draw from it, so Maximum Might 3 keeps its +30% affinity through dodges.
04GuardGuard Up
Guard 3 and Guard Up 3 for Gogmazios
Each weapon jewel carries a Guard point, and Shield/Ironwall adds Guard Up 3: less knockback and stamina when blocking, and the ability to guard attacks that are normally unblockable, which Gogmazios uses a lot. Some scripted attacks still cannot be blocked.
05Load ShellsRapid Morph
Load Shells 2 and Rapid Morph 3
Load Shells 2 on the rolled charm charges five phials on a yellow sword gauge, so you reach overcharged phials much faster. Rapid Morph 3 makes morphs 30% faster and 20% stronger.
06
Transcending two rarity 6 pieces
Transcendence raises the first two slots of a rarity 6 piece by one level: G. Fulgur Helm β goes from 2 to 3-1 and Mizutsune Mail β from 2-2 to 3-3. That is where the Challenger jewel and both Chain jewels go.
Swaps
If you are missing a piece
Any element: swap Blaze/Ironwall Jwl for the matching jewel (Dragon/Ironwall, Bolt/Ironwall, Frost/Ironwall, Stream/Ironwall) and nothing else changes.
No charm with Load Shells: Magazine/Ironwall Jwl in place of Shield/Ironwall Jwl keeps Load Shells 2 and Guard 3 but drops Guard Up. Phoenix Charm III then covers Coalescence 3 and frees the two Phoenix jewel slots.
Outside Gogmazios, the Ironwall and Shield halves of the weapon jewels are the flexible part: Blaze/Crit Elem Jwl trades a Guard point for Critical Element 1.
Flayer 1 and Shock Absorber 1 are comfort picks; the Flayer and Shockproof jewels are the first slots to repurpose.
Source
Credit
Build by Darcblade, adapted and re-fitted to the database.
Updated · Ver. 1.042 · gear data from wilds.mhdb.io · build adapted from Darcblade
An element-phial Charge Blade build around the Gogmazios four-piece bonus: Mutual Hostility II adds elemental attack whenever the monster is enraged and a damage barrier that absorbs a hit, while two Mizutsune pieces trigger minor bubbleblight after a few evades so Coalescence 3 can fire a large elemental boost when it wears off. Guard 3 and Guard Up 3 cover Gogmazios' unblockable attacks.
Loadout: Promised Abyss (Blaze/Ironwall Jwl [3], Quickswitch/Ironwall Jwl [3], Shield/Ironwall Jwl [3]); G. Fulgur Helm β, Mizutsune Mail β, Gogmazios Vambraces α, Gogmazios Coil β, Gogmazios Greaves β; Historical Charm; Rocksteady Mantle; armor jewels Chain Jewel [3] ×2, Protection Jewel [1], Challenger Jewel [3], Phoenix Jewel [2] ×3, Sheath Jewel [1] ×3, Flayer Jewel [3], Mighty Jewel [2], Shockproof Jewel [1]. Core skills: Coalescence 3, Load Shells 2, Rapid Morph 3, Burst 5, Agitator 5, Maximum Might 3, Guard Up 3, Divine Blessing 3, plus Mutual Hostility II (Gogmapocalypse) and Second Wind I (Fulgur Anjanath's Will) and Bubbly Dance I (Mizutsune's Prowess).
Weapon
Promised Abyss (Charge Blade, R8, Fire)
Attack / affinity
684 / 0%
Main armor set
Gogmazios β
Charm
Historical Charm
Mantle
Rocksteady Mantle
Target
Any monster
Unlocks at
HR 100+
Defense
300 base, 424 fully upgraded
Set and group bonuses
Mutual Hostility II (Gogmapocalypse, 4 pts), Second Wind I (Fulgur Anjanath's Will, 2 pts), Bubbly Dance I (Mizutsune's Prowess, 2 pts)
Source
Darcblade, "BEST OF THE BEST CHARGE BLADE BUILDS : MONSTER HUNTER WILDS"
FAQ · 7 questions
Gog Coalescence Charge Blade FAQ
01
What gear does the Gog Coalescence Charge Blade build use?
Promised Abyss with Blaze/Ironwall Jwl [3], Quickswitch/Ironwall Jwl [3], Shield/Ironwall Jwl [3]; G. Fulgur Helm β, Mizutsune Mail β, Gogmazios Vambraces α, Gogmazios Coil β, Gogmazios Greaves β; Historical Charm; Rocksteady Mantle. That reaches Coalescence 3, Load Shells 2, Rapid Morph 3, Burst 5 with Mutual Hostility II, Second Wind I, Bubbly Dance I.
02
When should I use the Gog Coalescence Charge Blade build?
Any monster. An element-phial Charge Blade build around the Gogmazios four-piece bonus: Mutual Hostility II adds elemental attack whenever the monster is enraged and a damage barrier that absorbs a hit, while two Mizutsune pieces trigger minor bubbleblight after a few evades so Coalescence 3 can fire a large elemental boost when it wears off. Guard 3 and Guard Up 3 cover Gogmazios' unblockable attacks.
03
Do I need a god-roll Gogma Artian Charge Blade?
No. The only roll that matters is the Gogmapocalypse set skill, which is the fourth Gogmazios piece. The group skill and reinforcements are personal preference; Darcblade keeps at least one sharpness and one affinity boost.
04
Why Coil β and not Coil α?
Gogmazios Coil β carries Mizutsune's Prowess, the second point needed for Bubbly Dance. Coil α carries Ebony Odogaron's Power instead, which does nothing in this set.
05
Which charm does it need?
A rolled charm (appraised from a Timeworn Charm) with Load Shells 2. Darcblade's is a Historical Charm with Load Shells 2, Bombardier 2, Divine Blessing 2 and one level 2 slot; Bombardier is a by-product of the roll, so any Load Shells 2 roll with a level 2 slot does the job.
06
Where does the Gog Coalescence Charge Blade build come from?
It is adapted from Darcblade's video "BEST OF THE BEST CHARGE BLADE BUILDS : MONSTER HUNTER WILDS", re-fitted to the game data on this site: every piece, jewel and skill total above is checked against the database, and the swaps list what was changed and why.
07
Is Charge Blade good in Ver. 1.042?
Charge Blade is S tier on the weapon tier list. This is one of 11 Charge Blade builds on the site, each tuned for a different target.
 Attack






 Gogmapocalypse1
 Imparted Wisdom1